I love pasties. I know I should make them more often, but I’m never that confident with making pastry. If I made them more often though, I’d surely get more confident. I really should just keep making them. Anyway, I made Cornish Pasties. Spoiler alert: they were *good*.
Since 2011, Cornish Pasties have had Protected Geographical Indication (PGI) status. This means that in order to be legally called a Cornish Pasty within the EU, a set of specific criteria must be met. The Prawn Cocktail Years’ recipe is a pretty accurate rendition of a true Cornish Pasty and only fails on two counts. The seam of a Cornish Pasty should run along the side of the pasty – the pasty should look like a letter ‘D’ when viewed from above. Hopkinson and Bareham have that seam running across the top of the pasty, ‘like the backbone of a stegosaurus’. Given that they wrote this recipe fourteen years before PGI status was granted, I think they can be forgiven. And the second failing can hardly be considered to be their fault – a true Cornish Pasty must be made in Cornwall. I’m about two hundred miles away from Cornwall, so I think I fail on that count. Still, I’m sure it will taste just the same.
To start, I make the pastry. I’m always wary of making pastry; I’m not sure why, it invariably turns out just fine. Pasties are made with a savoury shortcrust pastry, using just flour, salt, lard and water. Keeping things cold is the order of the day when making pastry, so I put the lard in the fridge for an hour or so to firm up. Once firm, I grate it into some sifted flour and salt, and then mix with a palette knife, adding water a little at a time until the pastry gathers into a ball. I then put the pastry in a plastic bag and put it in the fridge to chill.
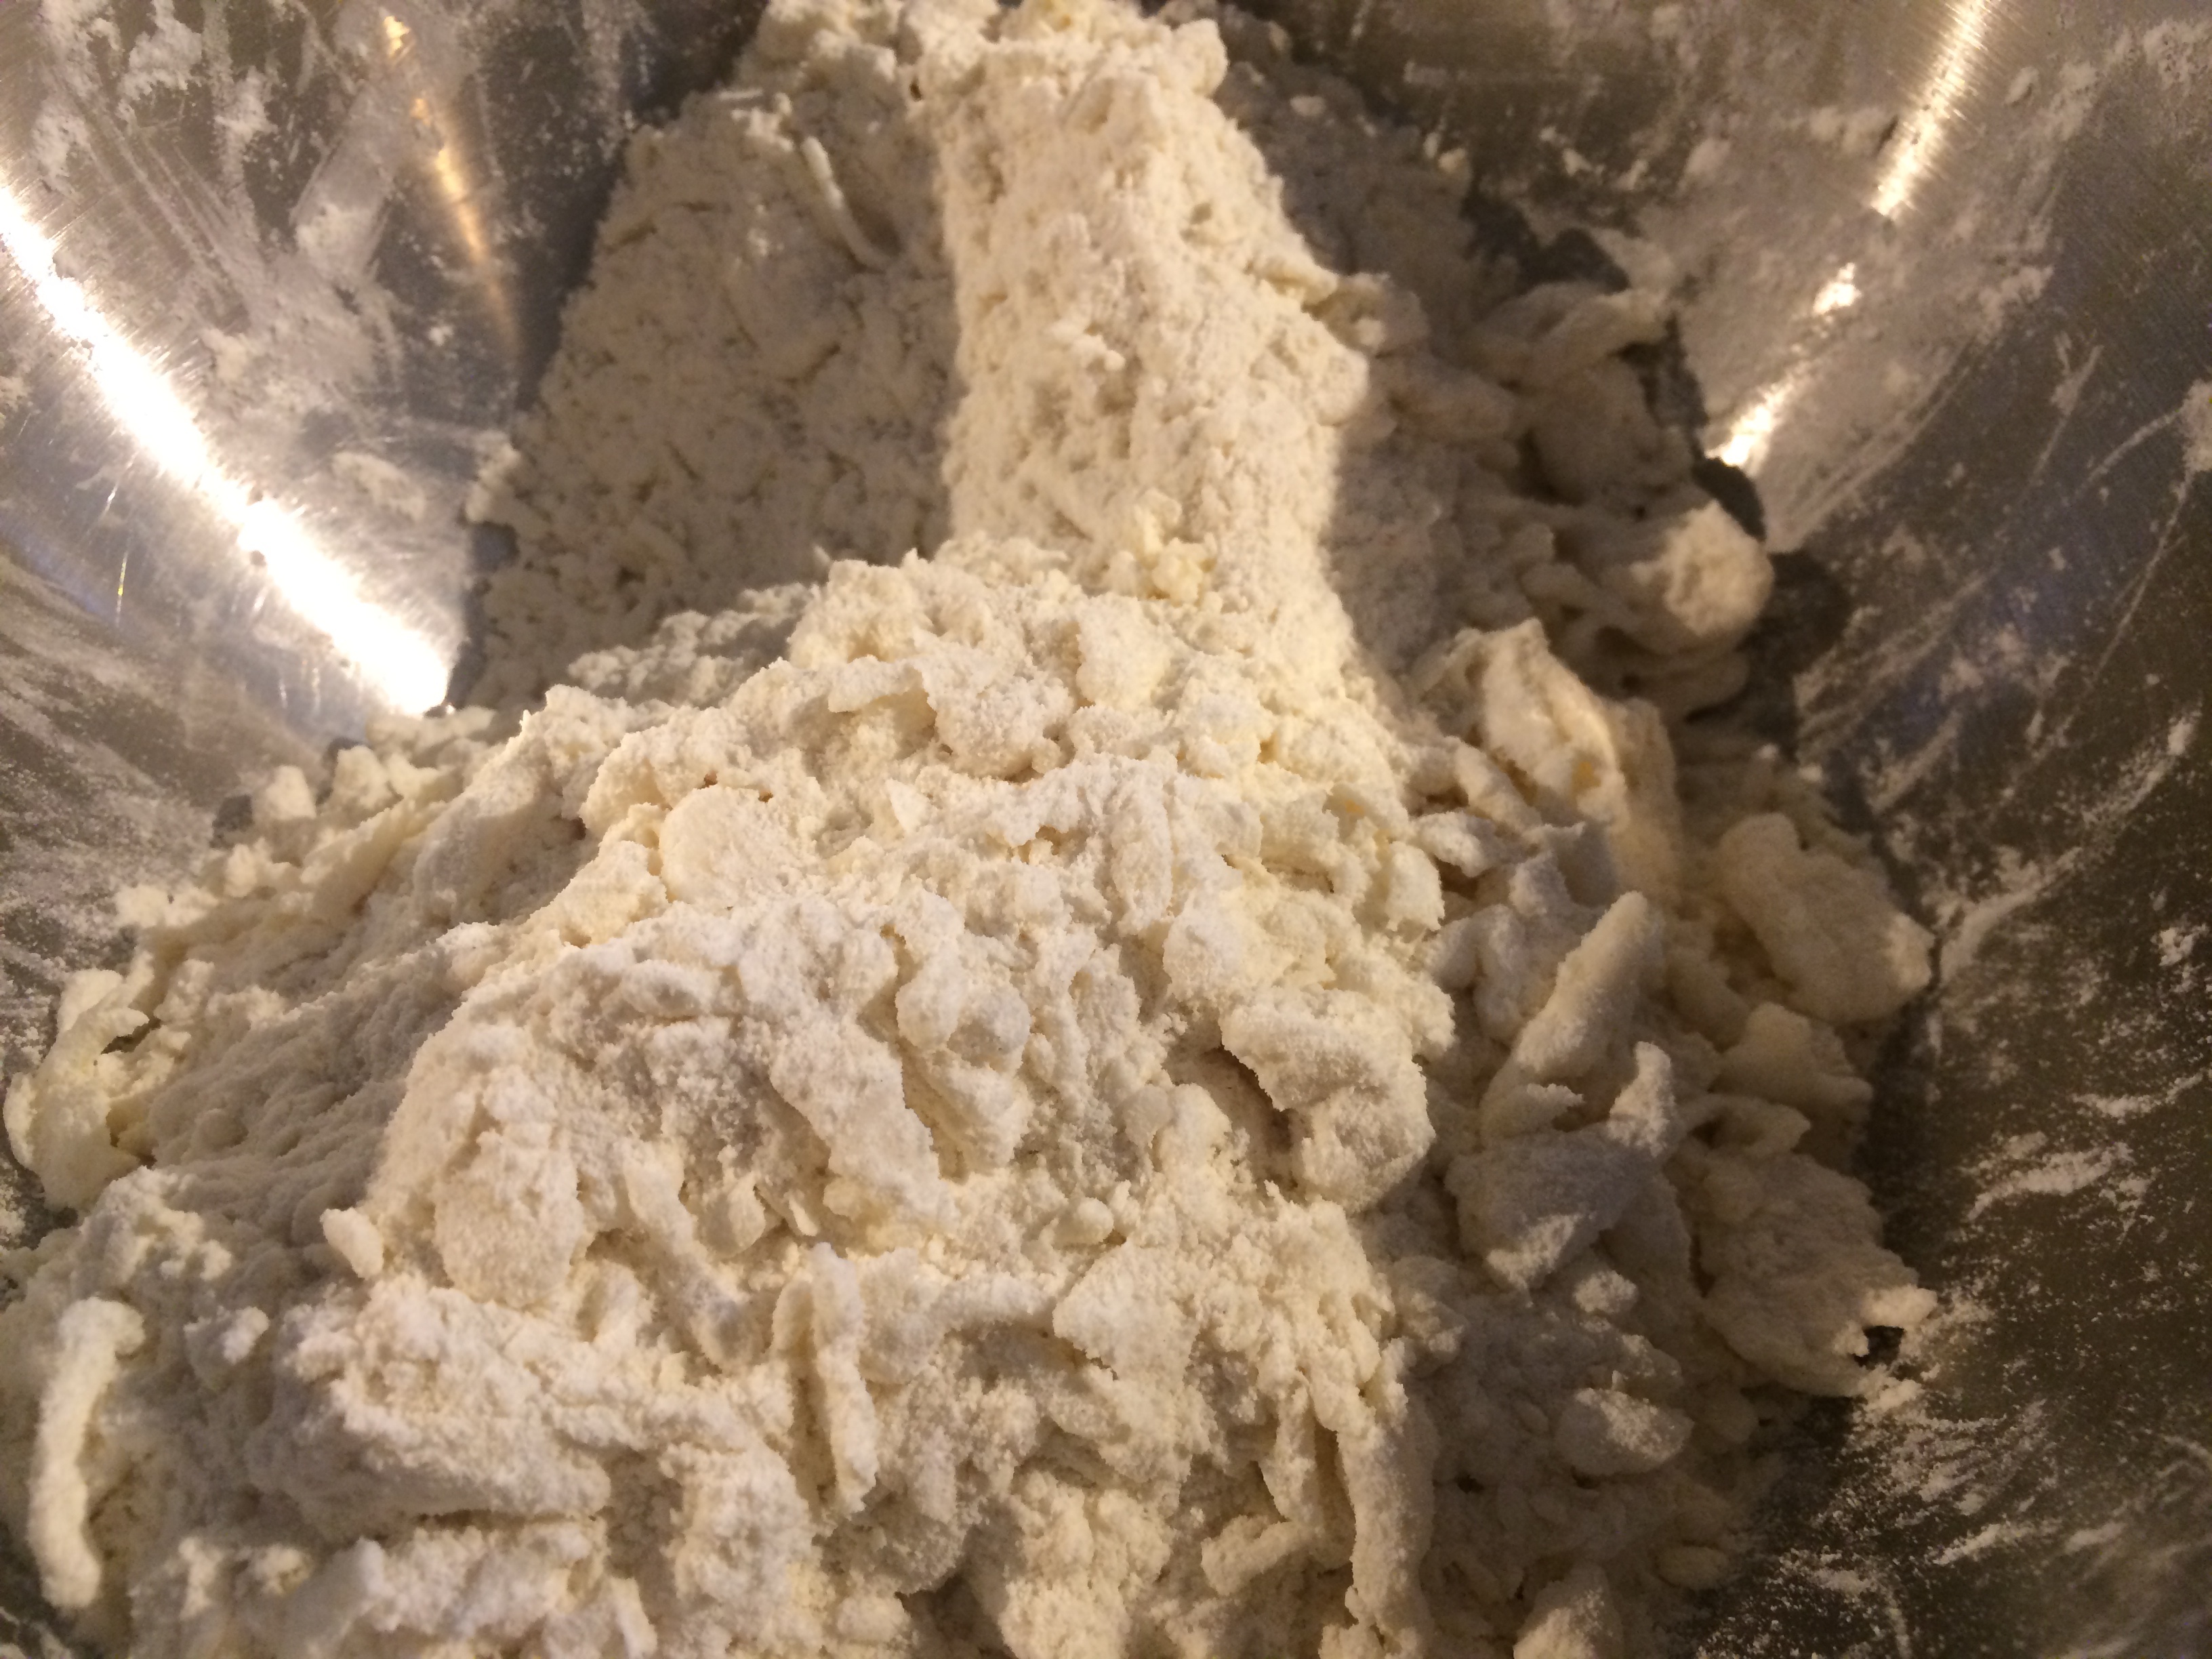
Making Pastry
Whilst it’s chilling, I prepare the meat and vegetables. Beef skirt, onions, potato and swede are all cut into small dice. Each ingredient is then divided equally into four piles, ready for filling the pasties.
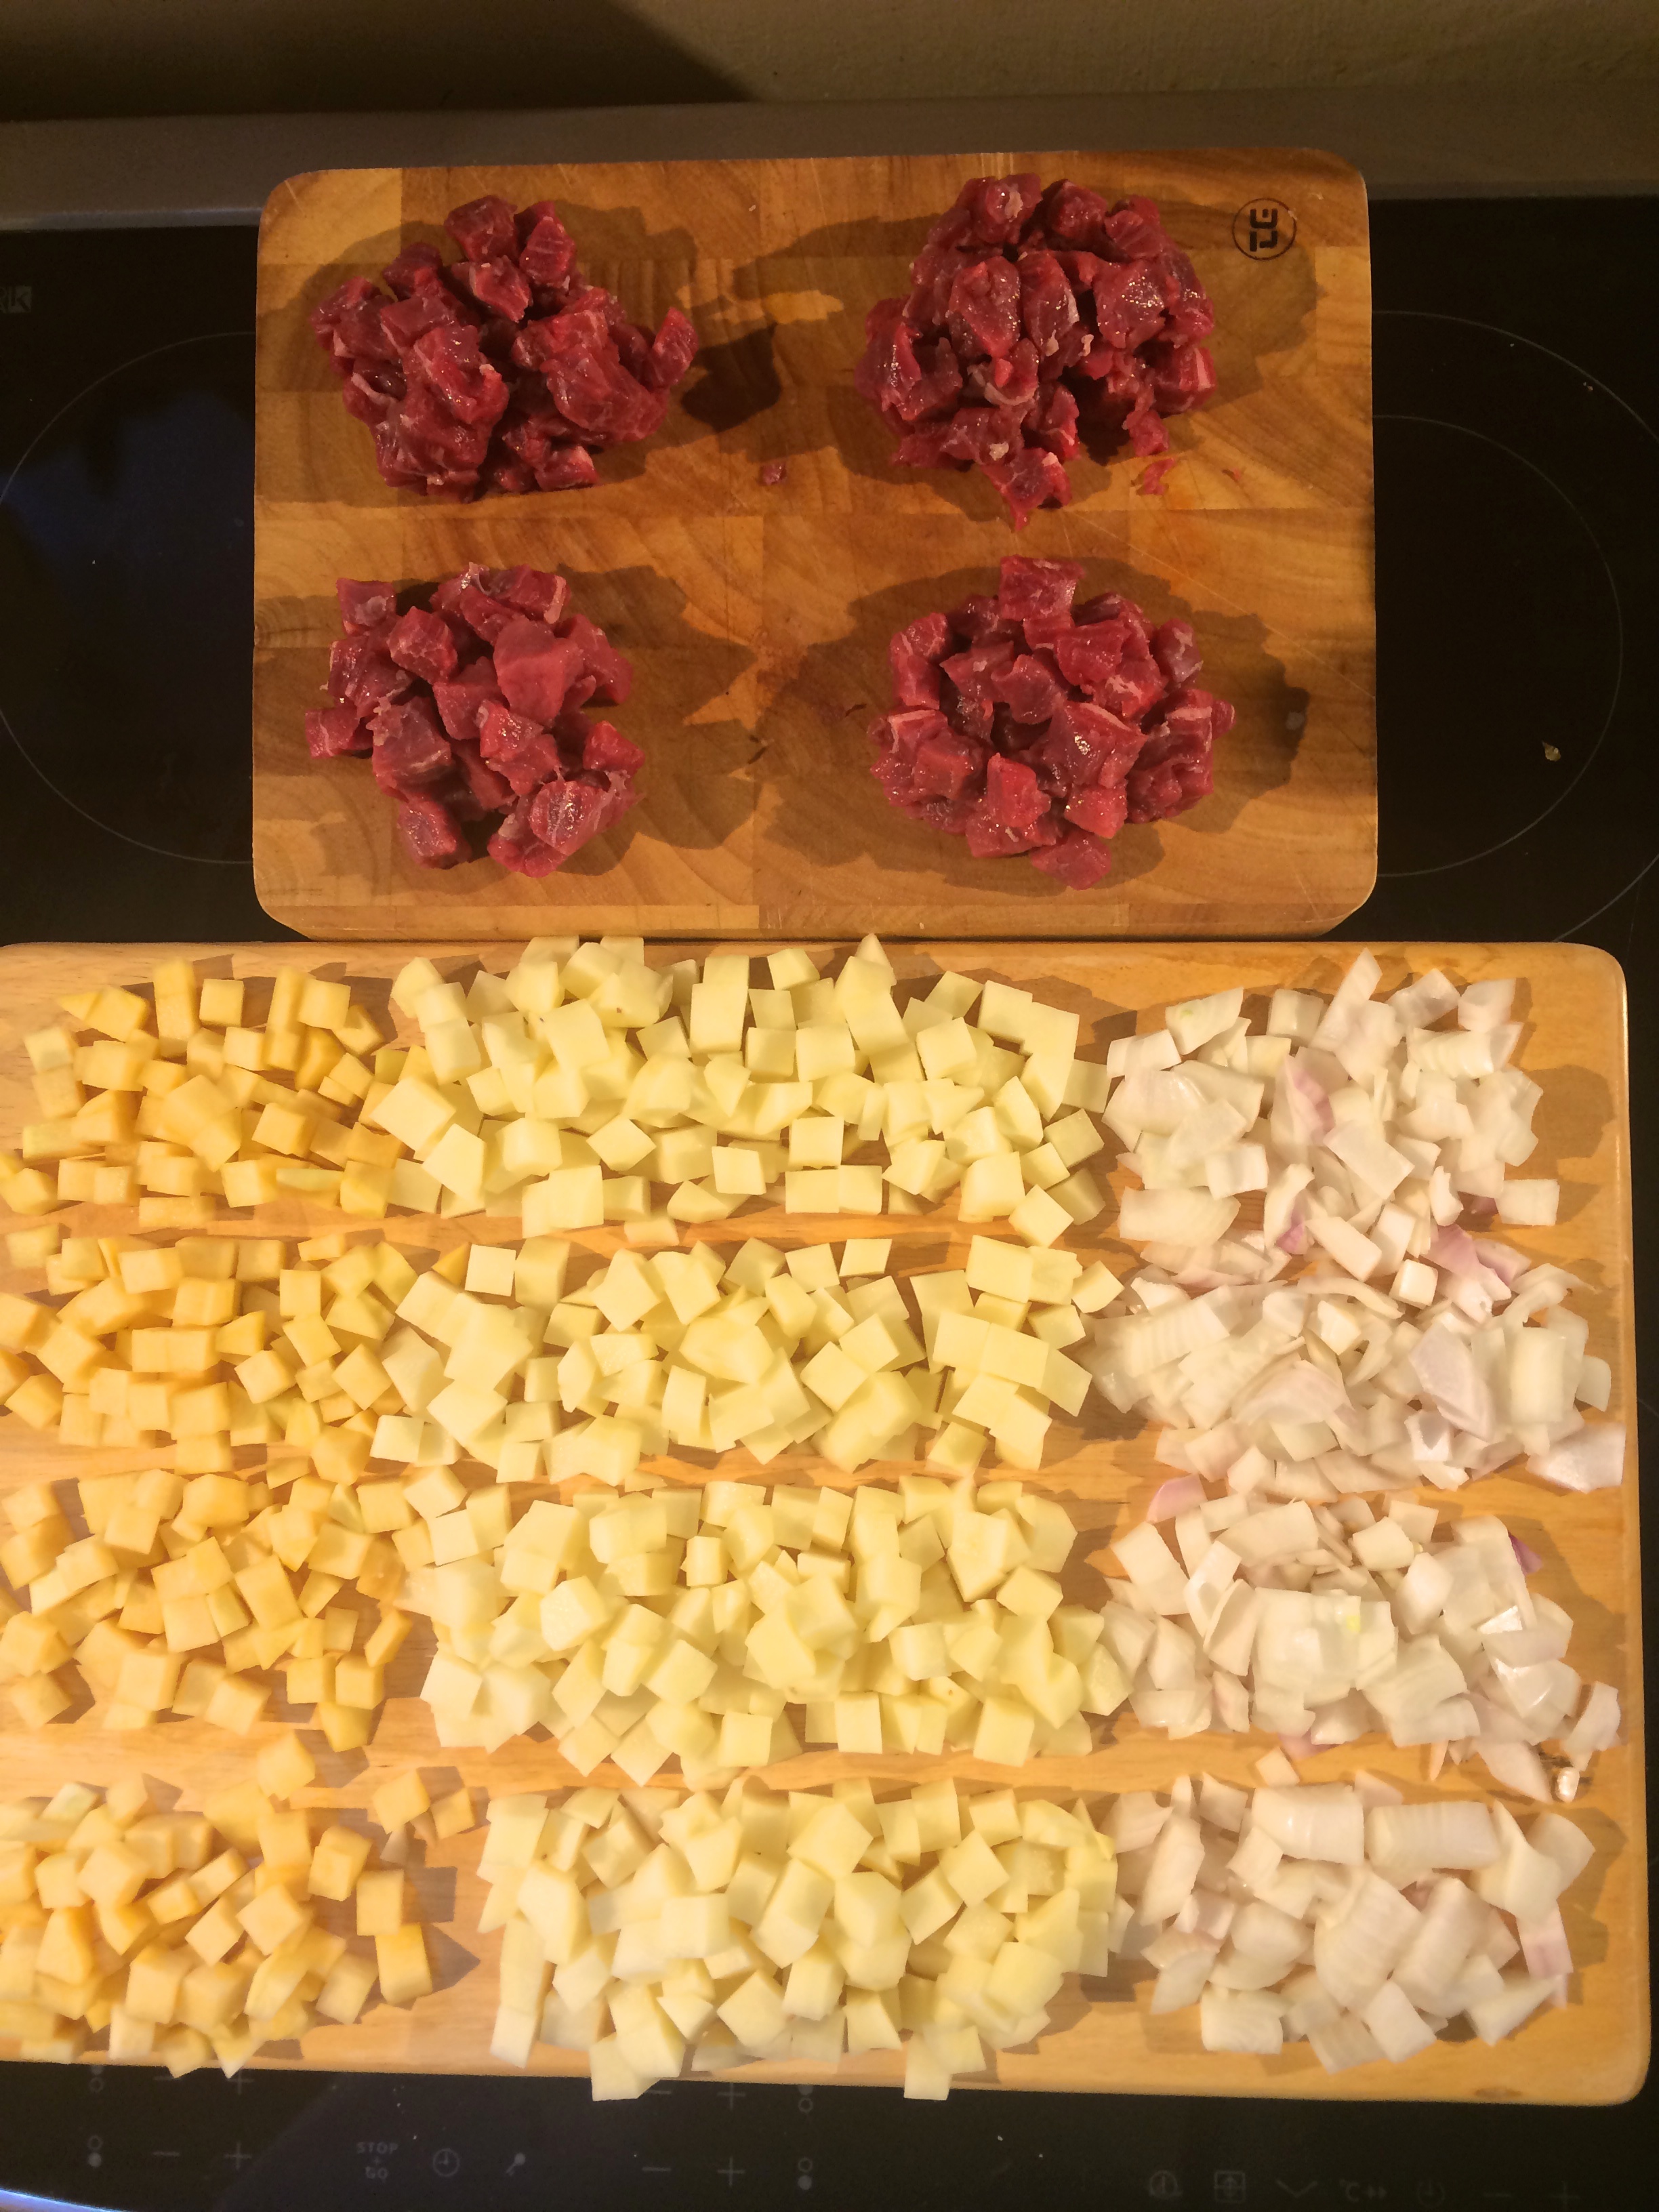
The Filling Ingredients
Next, take the pastry out of the fridge, divide it into four equal parts, and put three of them back in the fridge. I roll out the fourth piece into a circle about the size of a dinner plate, and then add the fillings.

Rolled-out Pastry
First, the onion and swede, and then season with salt and pepper (both black and white).
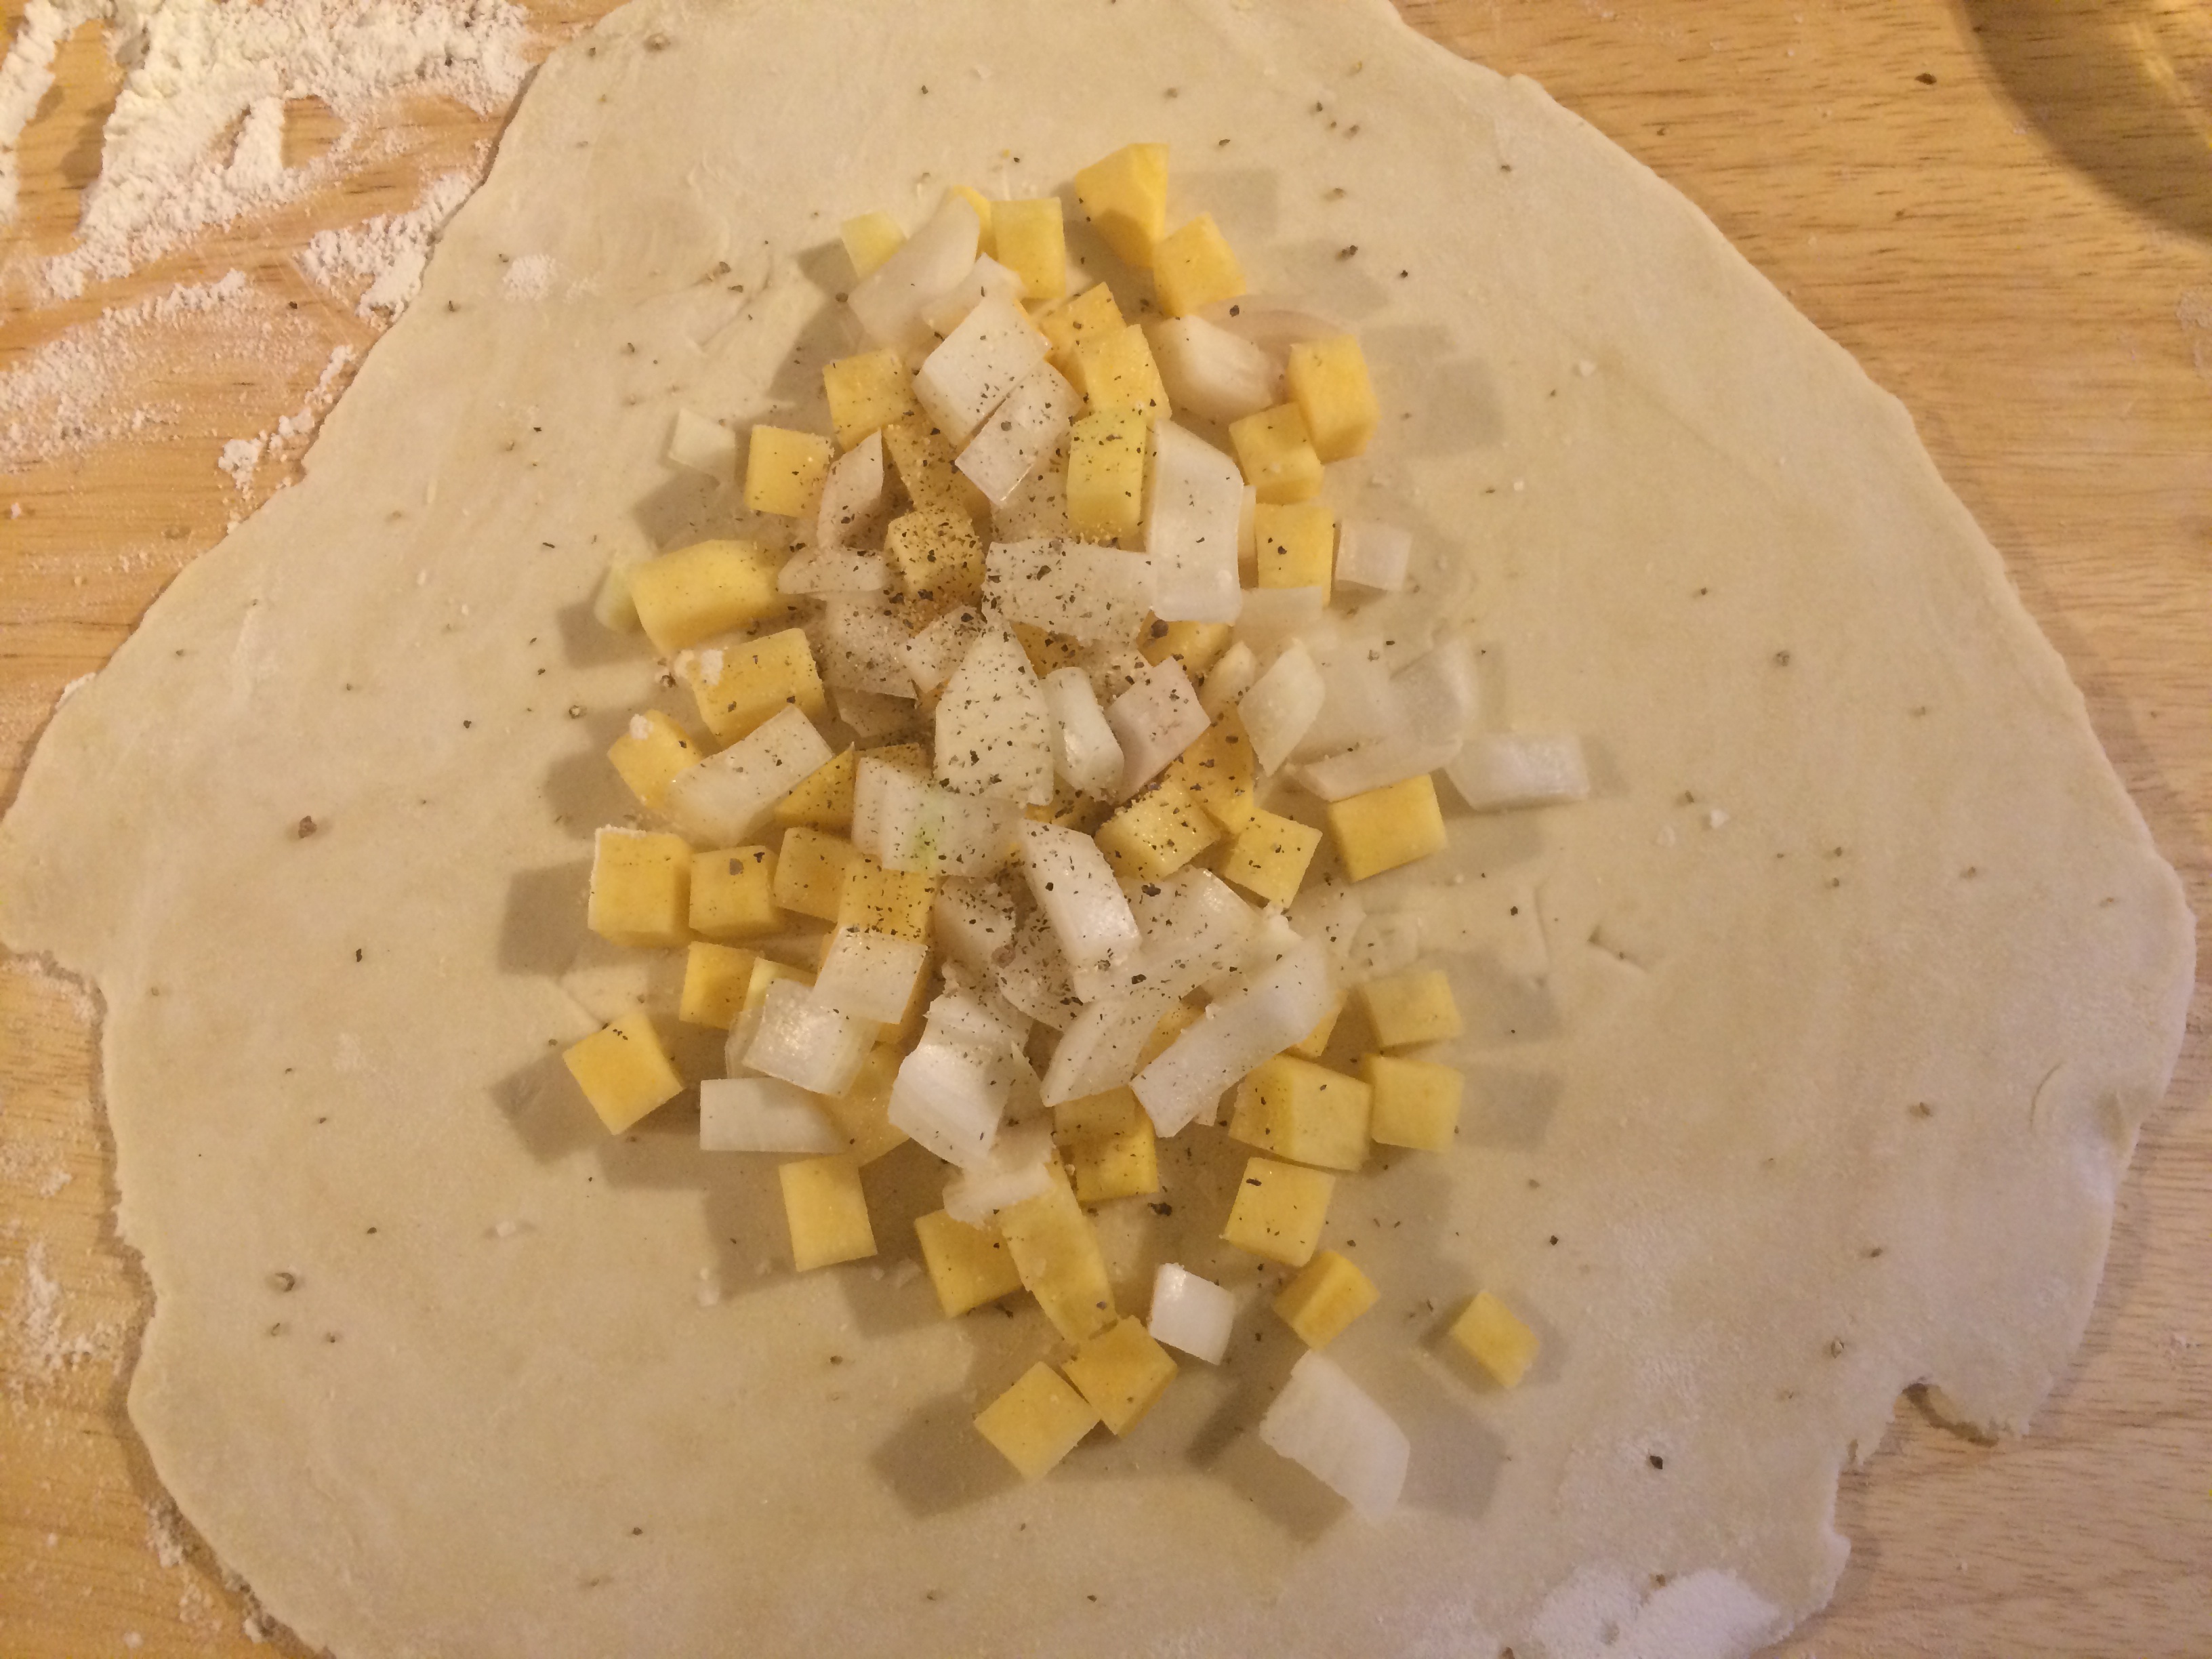
Swede and Onion
Then, half the potato and the meat, and season again.
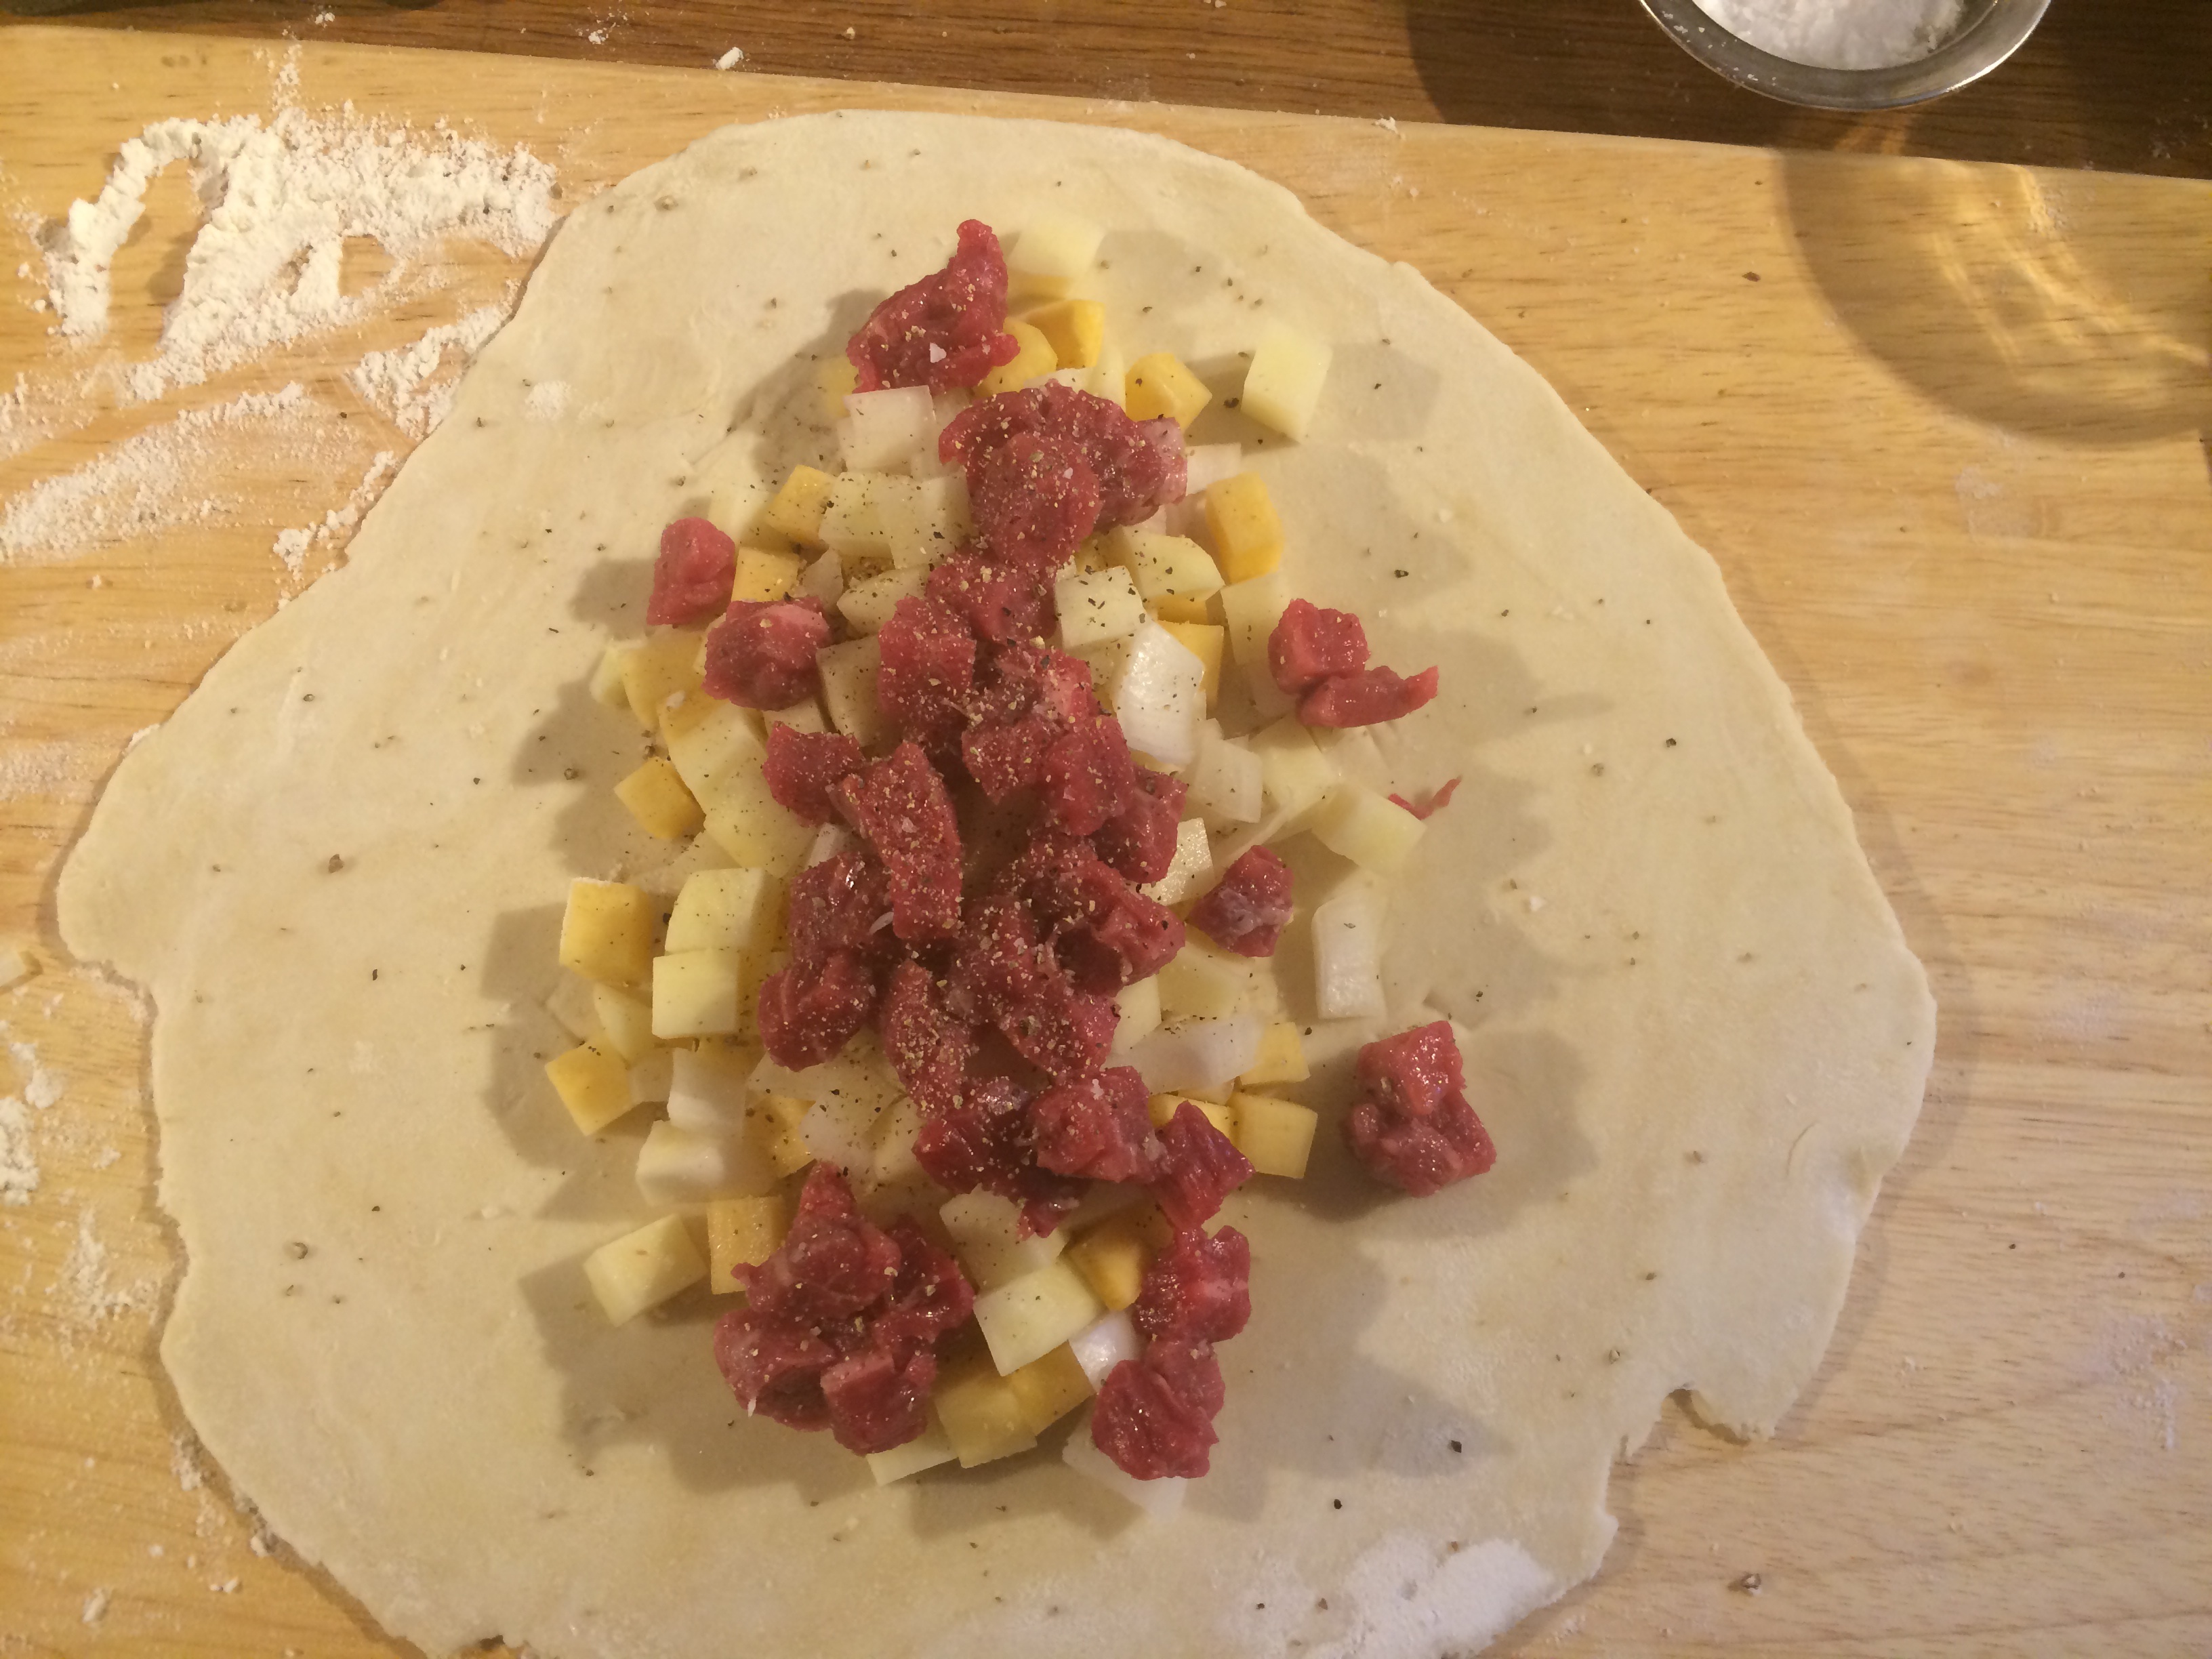
Meat and Potato
Finally, the rest of the potato.
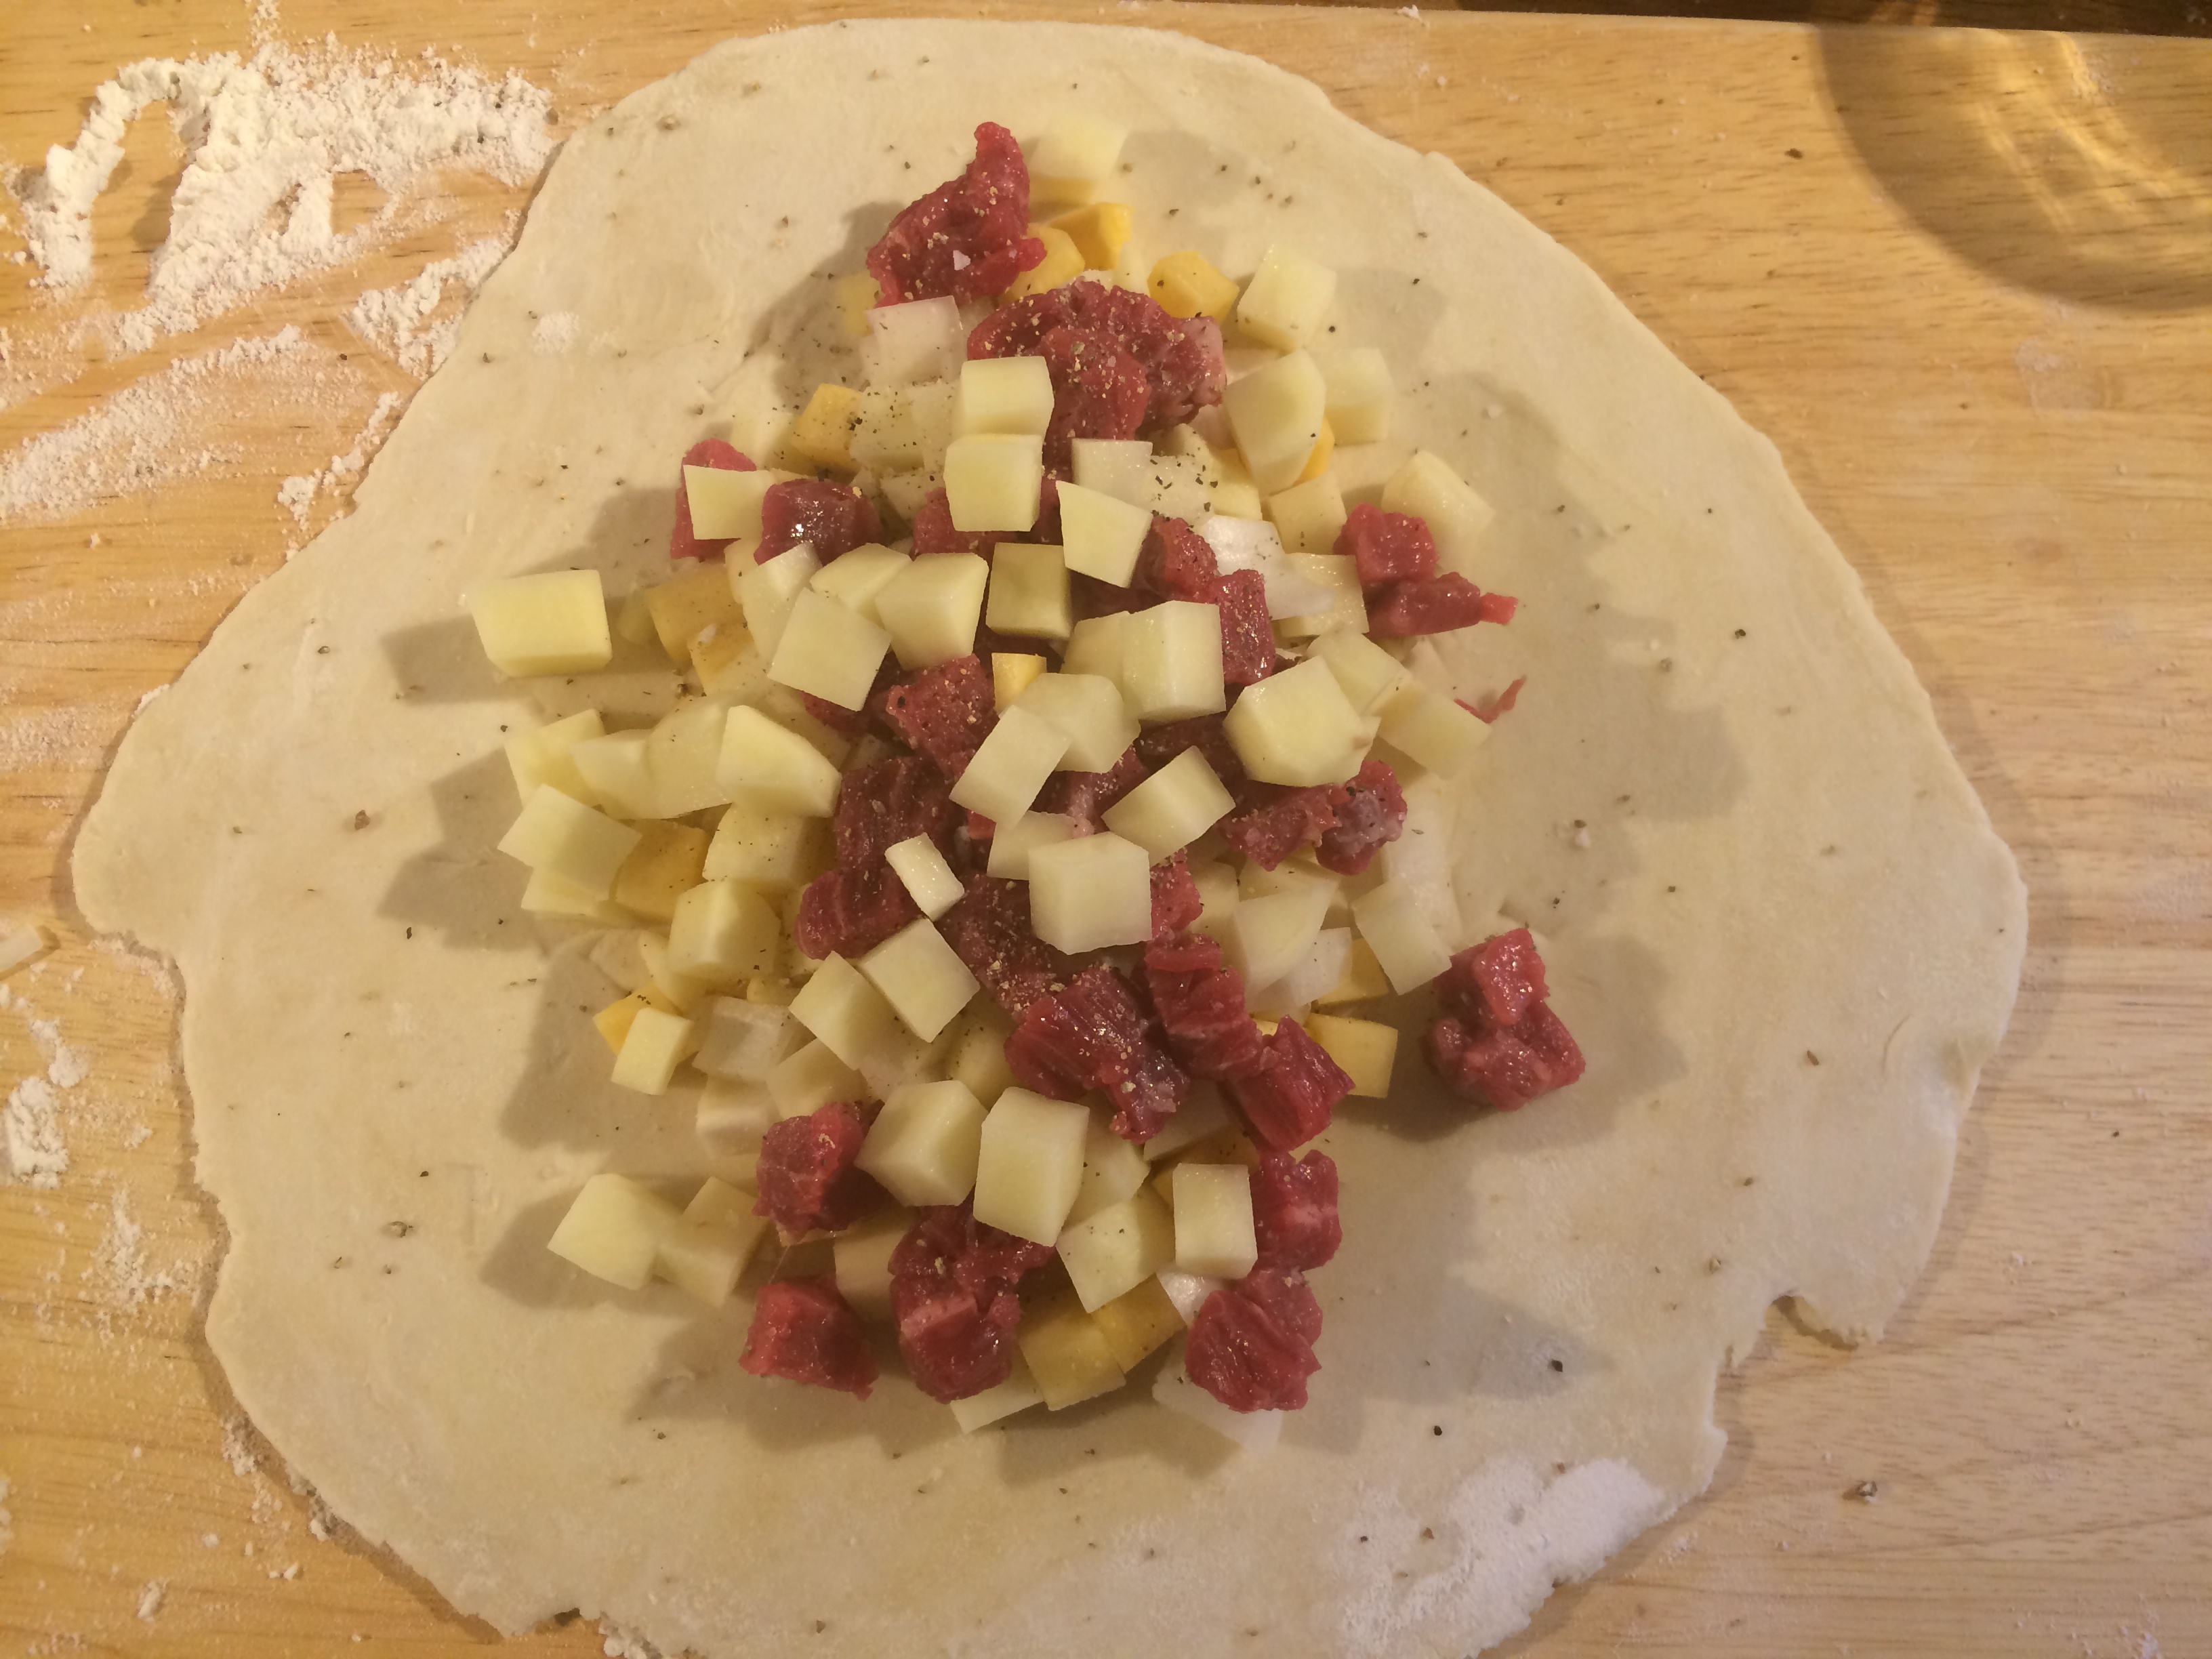
The Rest of the Potato
Now for the tricky bit. Brush the edges with some water and then gather up the sides, bring them together and crimp them into that stegosaurus shape. This is where I always tear the pastry and watch all the filling fall out. There was a little slight tearing, but it held firm. A quick squeeze on the tear to reseal, and it was looking good.
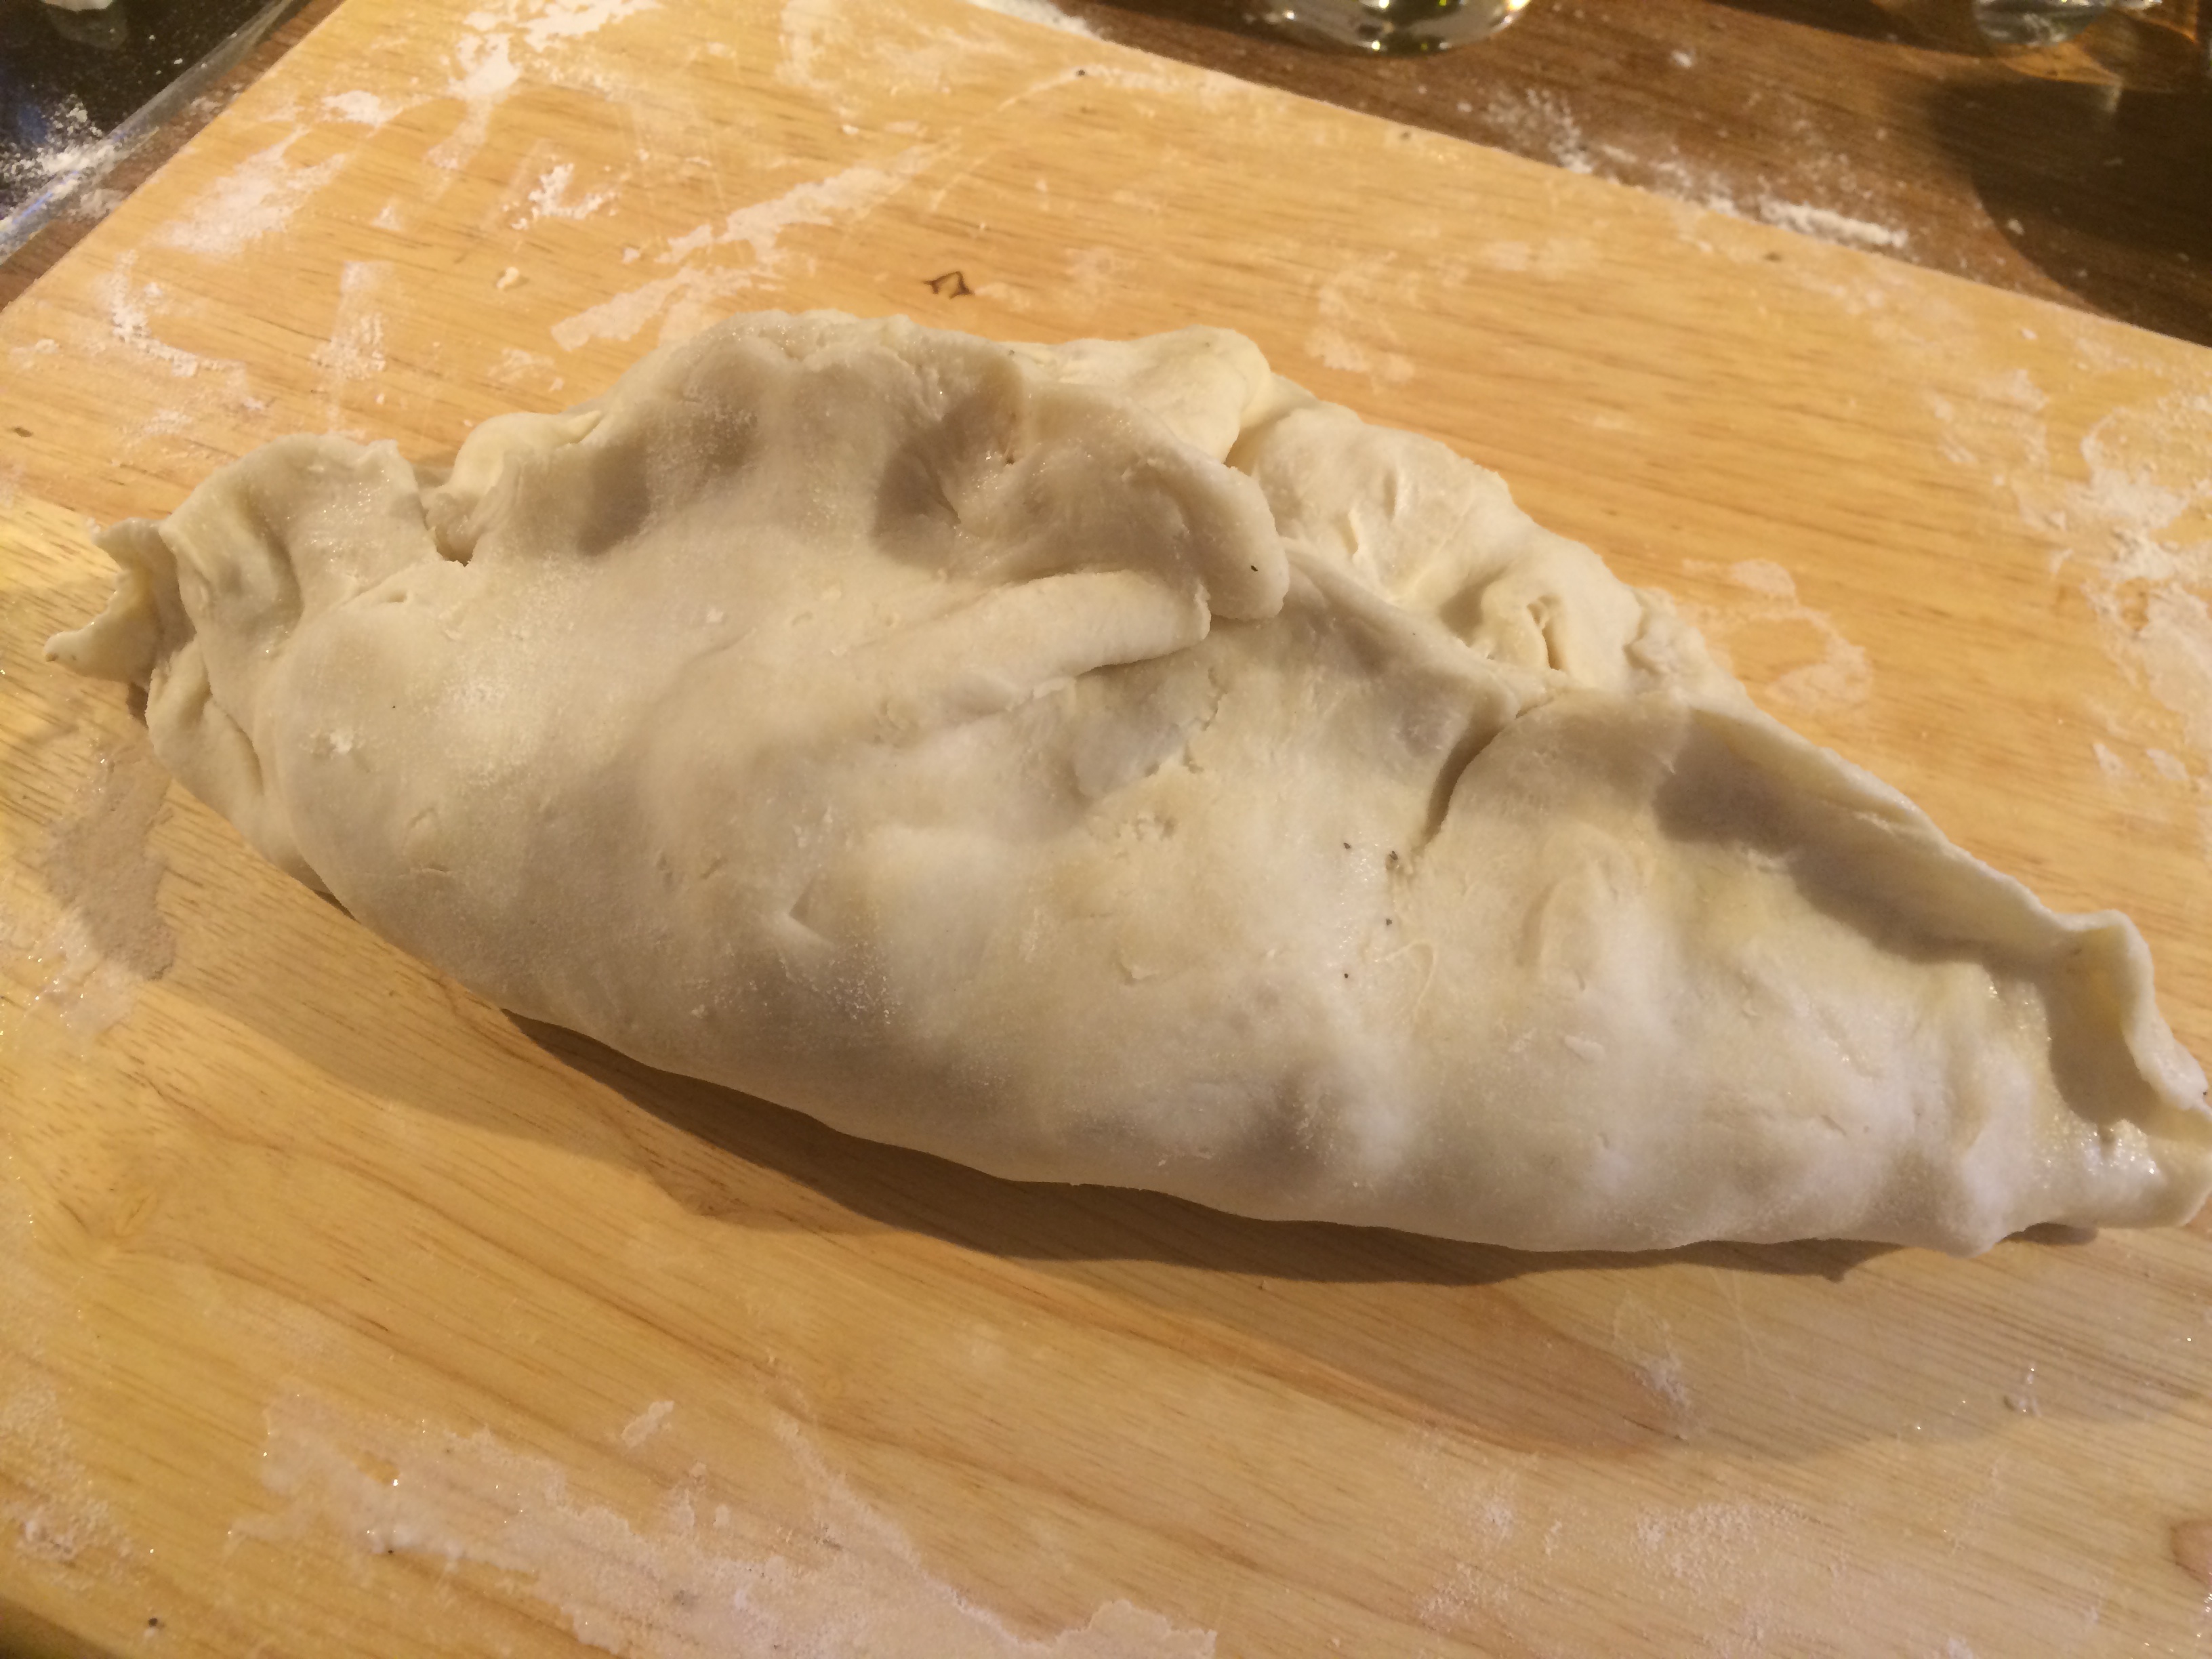
Sealed and Crimped
I did this for the other three pieces of pastry, taking them out of the fridge one at a time to keep them chilled. I quickly get used to the routine, and each one comes out a little better looking than the last. By the time I get to the fourth one, I’m feeling confident. I roll it out, add the fillings, seal and crimp the edges. It looks perfect. I’m so pleased. I’m about to photograph this final, perfect pasty, when I notice the small pile of potato left on the chopping board. I’d forgotten the final step, and not added the last half of the potato. My heart sinks. I toy briefly with the idea of just quietly putting that errant pile in the bin and pretending nothing had happened, but I couldn’t quite bring myself to do that. Somehow, I manage to prise open the seam without damaging the pastry too much. I add the last of the potato, and seal it back up again. It’s no longer a perfect looking pasty – it now has a slightly mangled look to it. I don’t feel compelled to take a photograph any more. This was no longer a pasty I especially wanted to remember.

Egg-washed and Ready for the Oven
So, time to cook. I brushed them with egg and put them in the oven. Fifteen minutes at 200˚C, then forty minutes at 150˚C. They came out brown and golden. They looked delicious. Misshapen, but delicious.
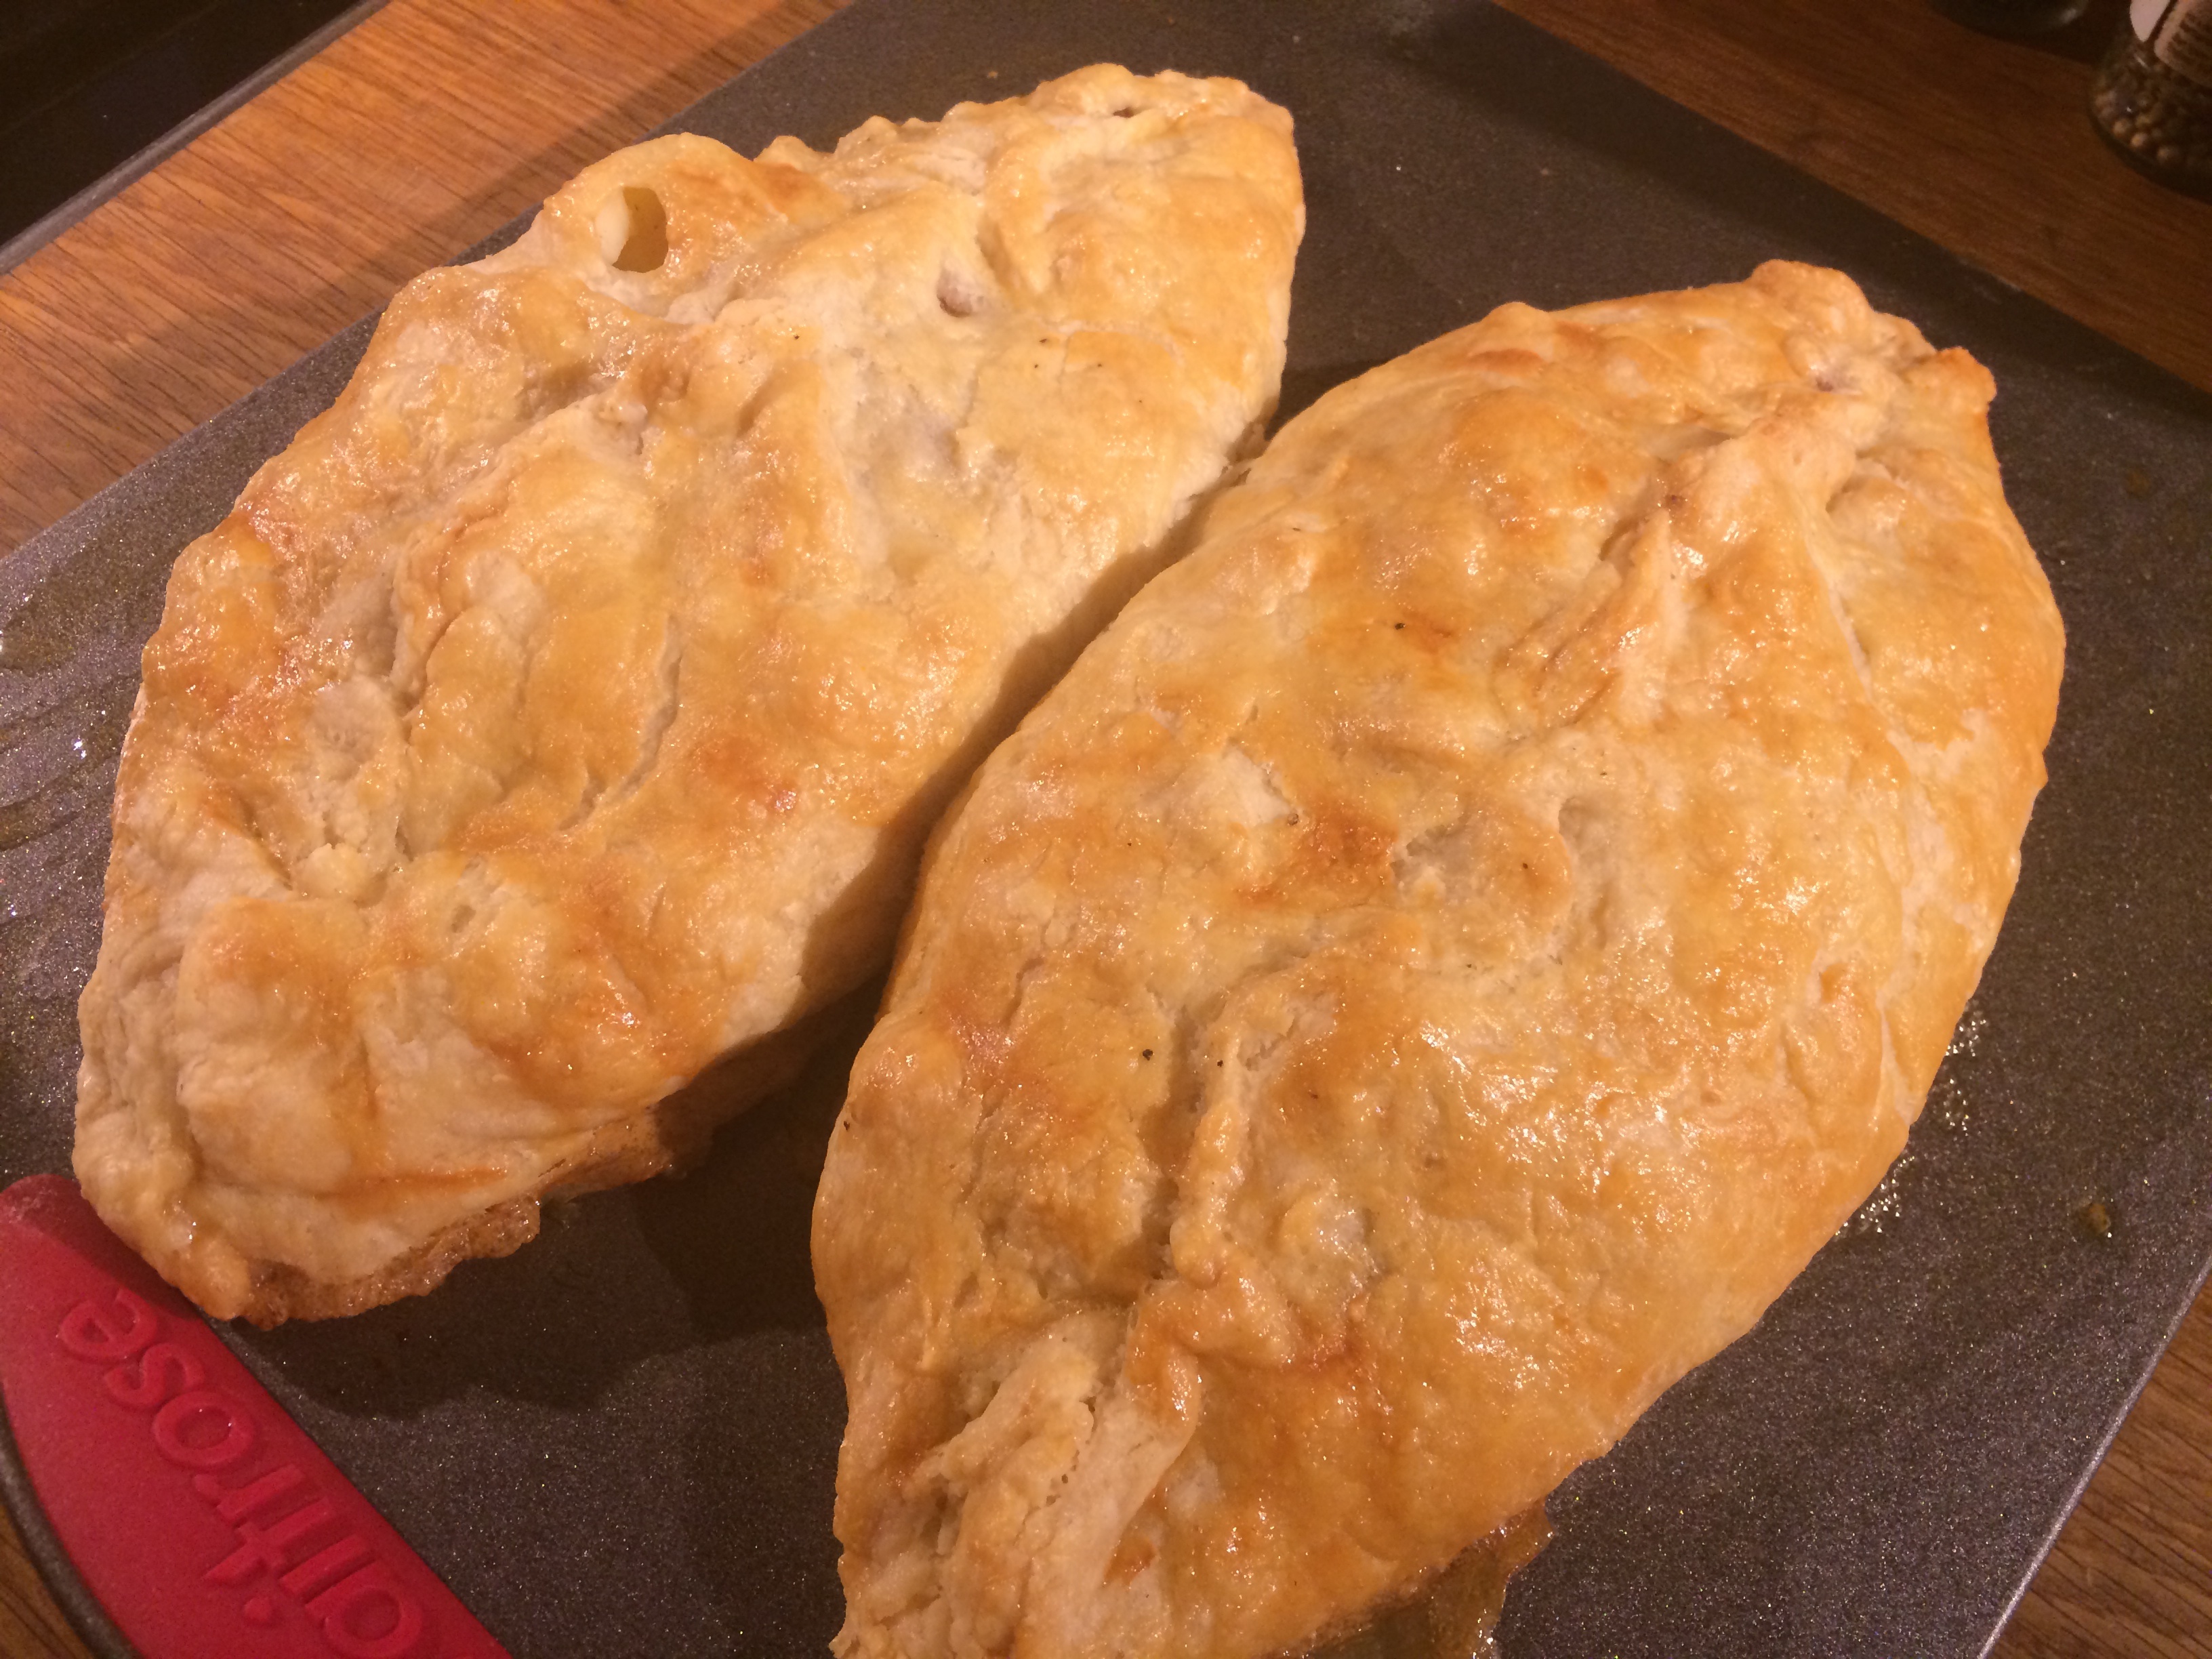
Cornish Pasties
And they were delicious. Crisp, golden pastry, which cut open to reveal a steamy, peppery, tasty interior. I love pasties. I really, really, really, should make these more often.
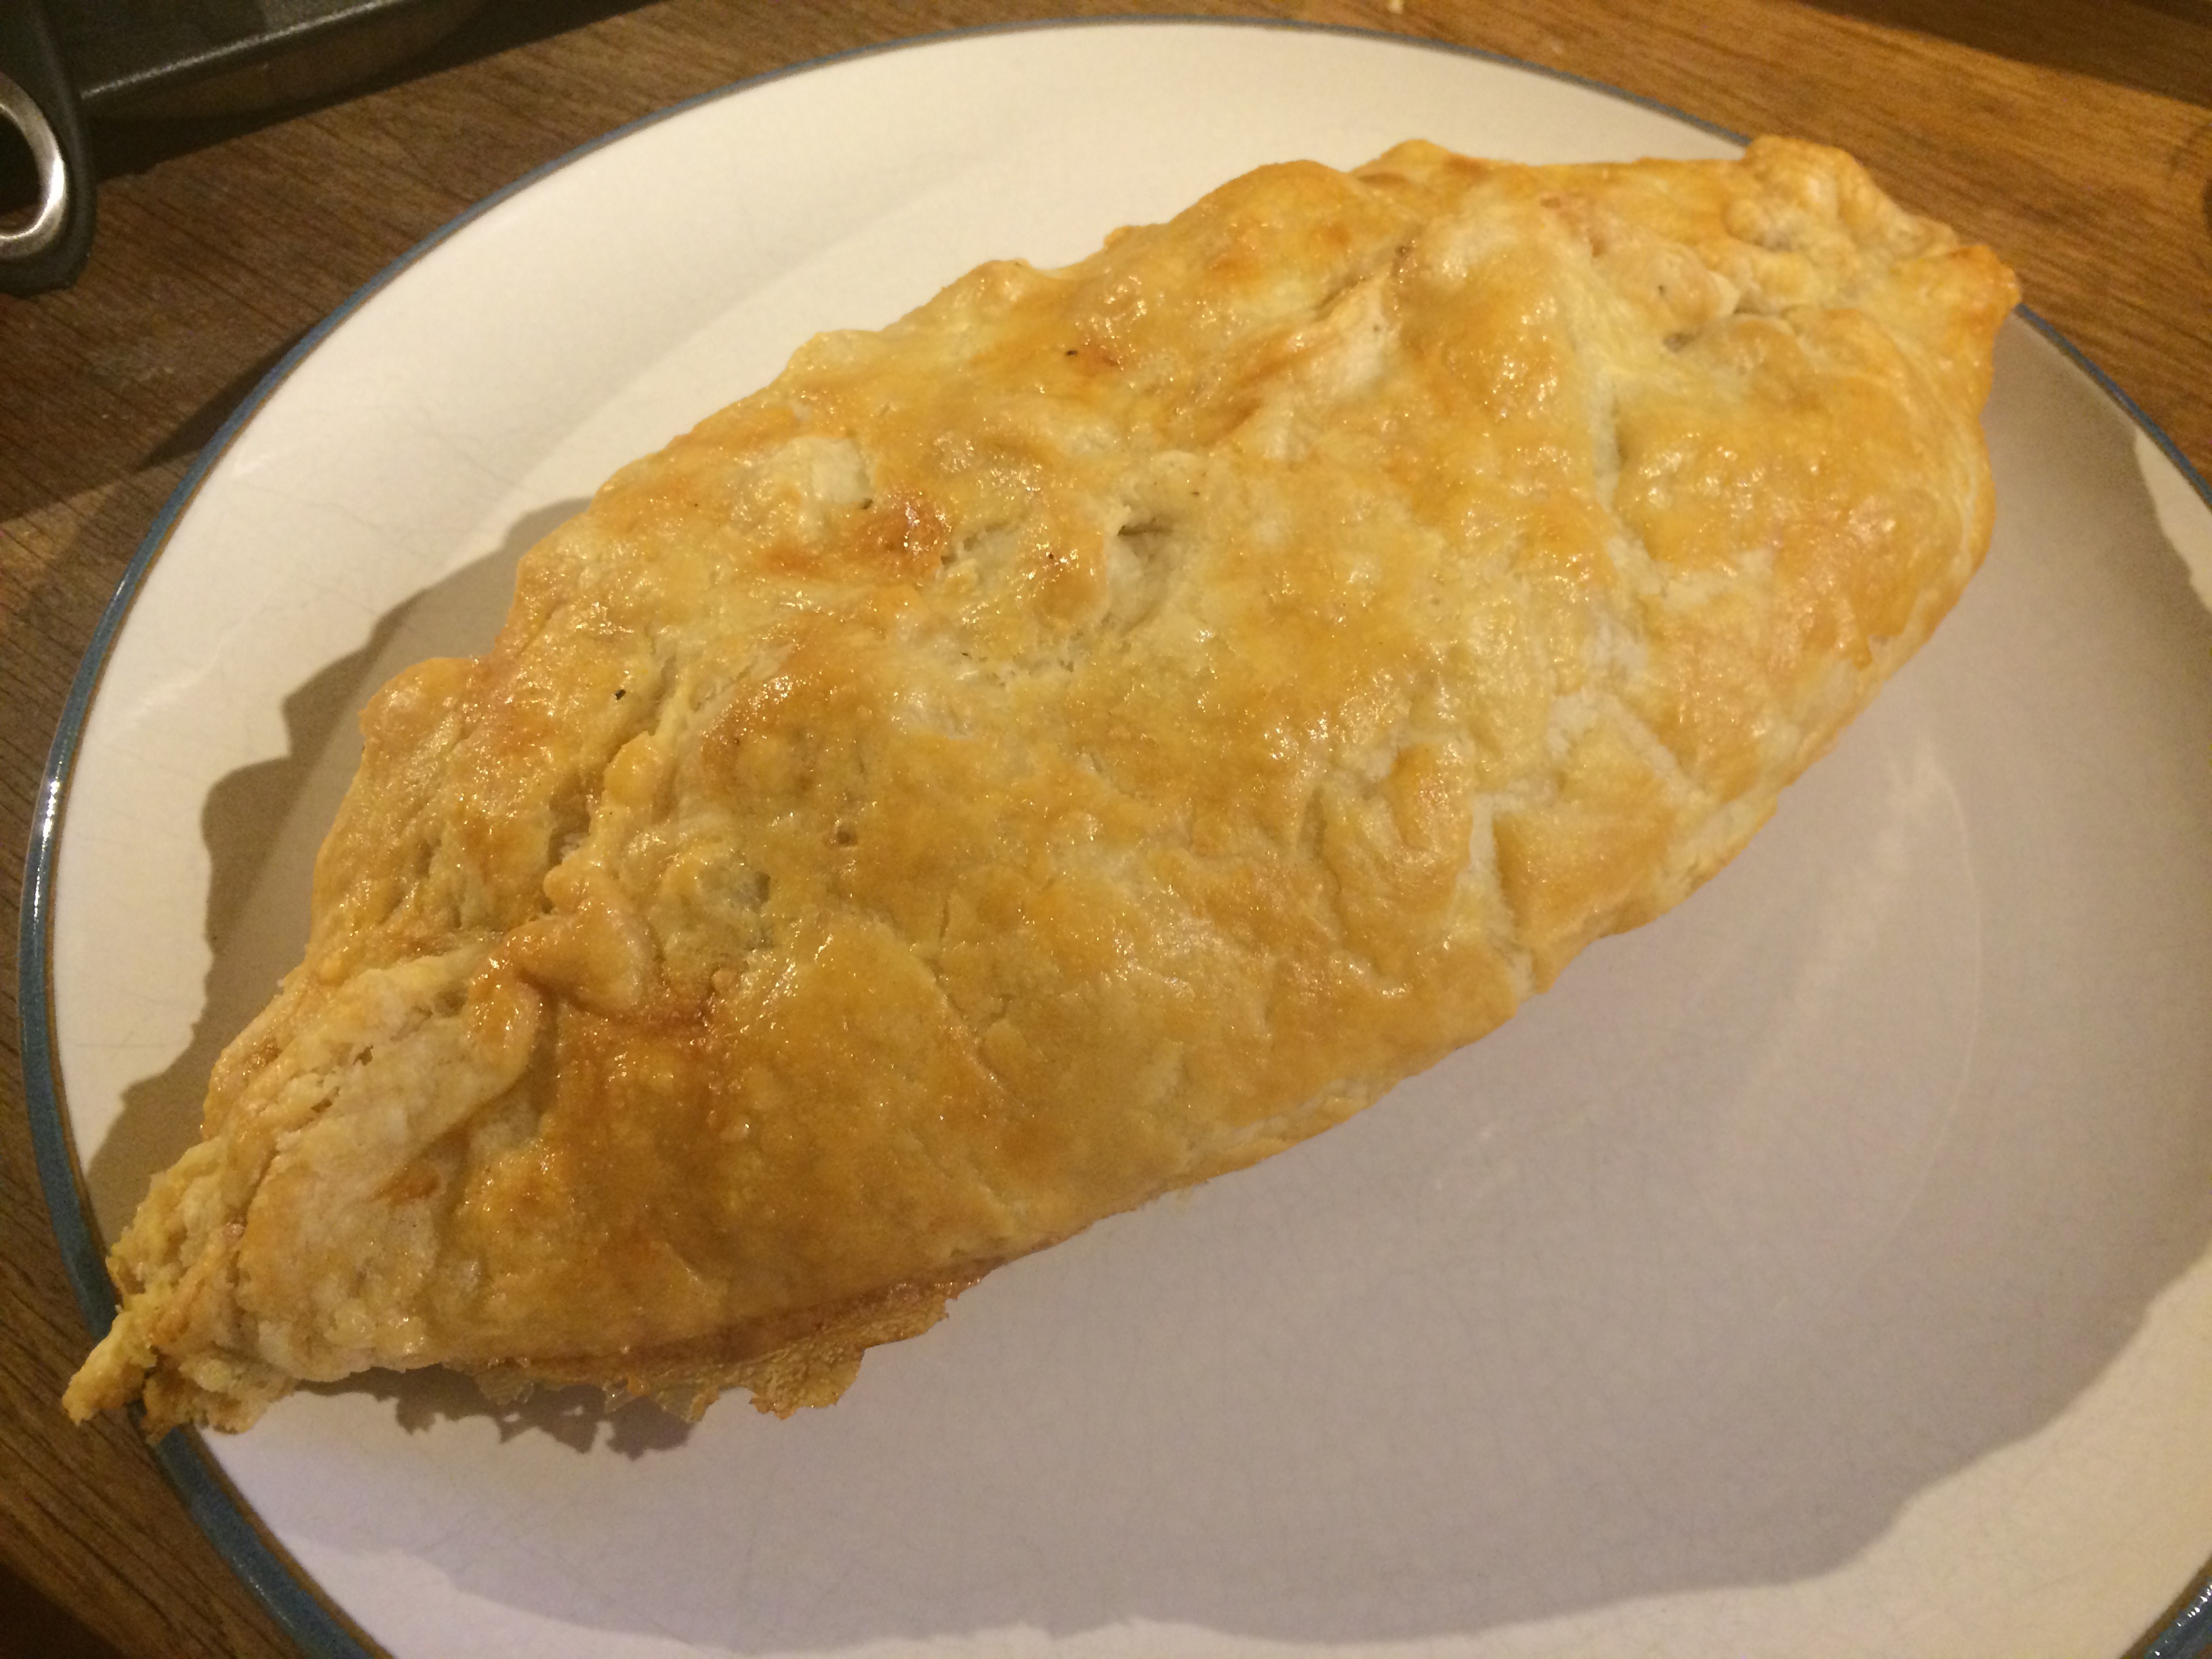
Cornish Pasty
Sue says:
Traditional Cornish pasties! One of my favourite childhood delights. It brings my Nan back to me more than anything else other than the smell of lavender (which she grew, dried and kept in a little stool in the bedroom). She was a very good baker. But her dinners were pretty bland and boring. She’d gone through rationing and I think it affected what she could even think of as food for dinners. Watery casseroles were popular and bland meat and 2 veg. BUT, she made lovely Cornish pasties. Having been evacuated with my Mum to one of her husband’s cousins in Cornwall during part of WW2, she learned to make them there.
So, how do these compare? Pretty darn good. Dave’s pastry is very light and crisp, which I love, but I think he could stand to add a little more salt to the savoury pastries. The filling is just complete comfort food. Swede, potato and onion with beef and both white and black pepper. The flavours meld, the vegetables soften and infuse the inside of the pasty with savoury steam just waiting to be released with the first incursion of the knife and fork. Nan always sliced the veg and meat, this recipe calls for dicing. But that’s about the only difference. I love these pasties. They are like a complete meal for a week in one go, built for miners working in hideous conditions, but that aside, one now and then is a must.
10/10
Comments are closed.